Step 1: Prepare the Area
✨ Clear the floor of dust, dirt, and debris to create a clean installation space. Position the Sticky Mat Frame where you want to place your Sticky Mat, ensuring it’s level and secure.
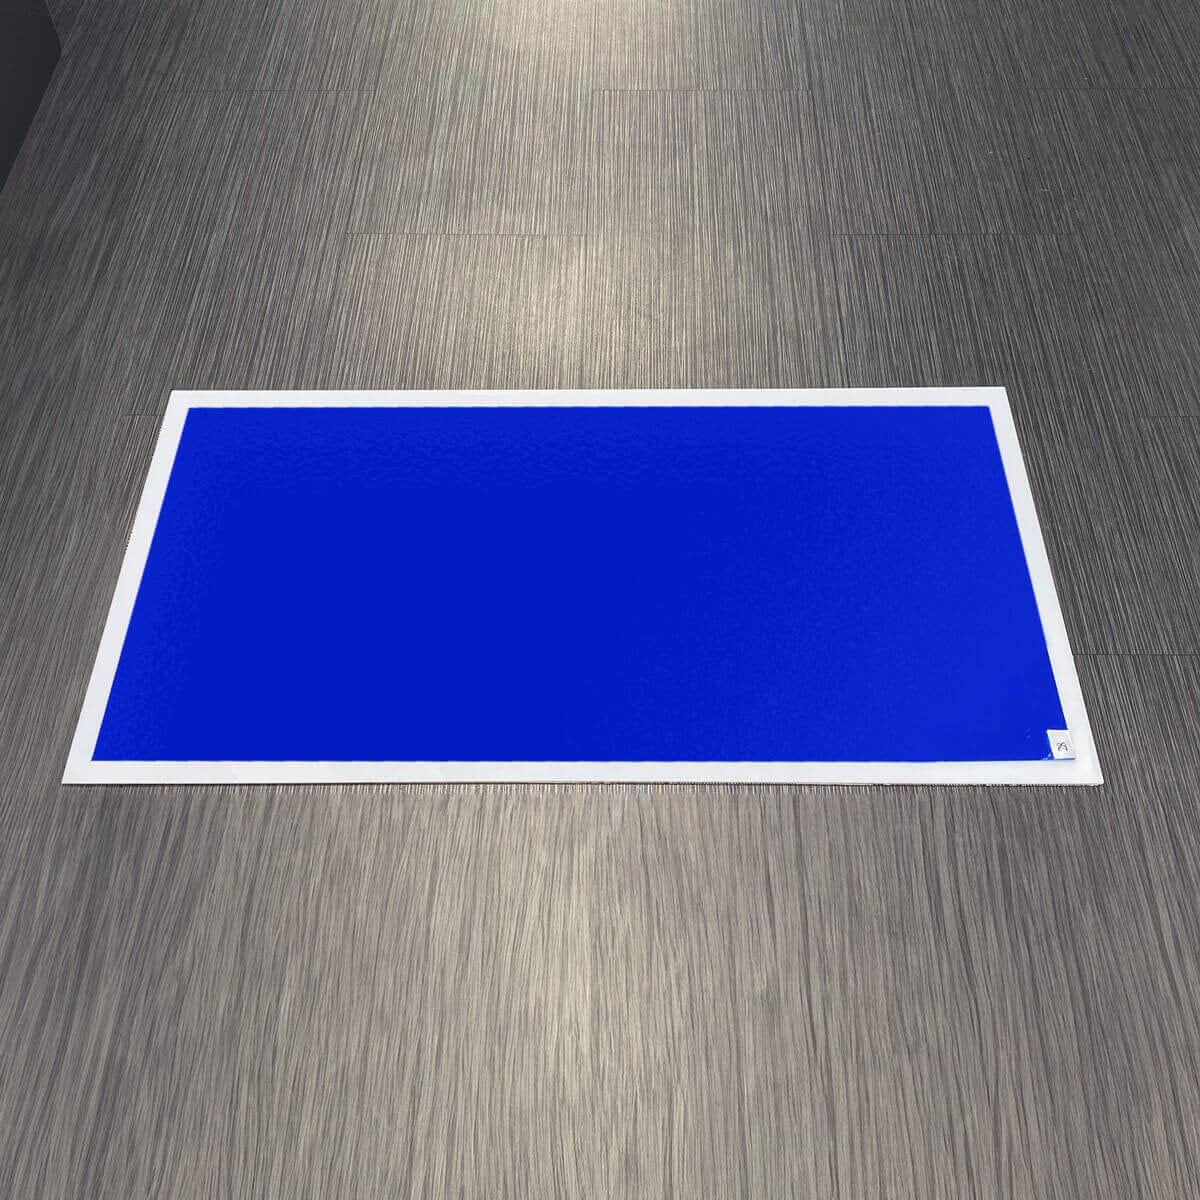
Step 2: Install the Sticky Mat
🔧 Peel off the bottom plastic layer of the Sticky Mat. Gently align the mat with the edges of the frame. Ensure the mat is evenly positioned within the Sticky Mat Frame and press firmly to secure it.
Step 3: Activate the Sticky Surface
🛠️ Peel off the top protective layer of the Sticky Mat to reveal the first sticky surface. Your mat is now ready to trap dirt, dust, and contaminants, keeping your environment cleaner.
Step 4: Replace Sticky Layers
♻️ When the top layer becomes soiled, use the built-in tearing tab to easily remove it, exposing a fresh sticky layer underneath. Simply repeat this process as needed for continuous cleanliness.
Step 5: Enjoy a Clean Environment
🌟 With your Sticky Mat securely in place inside the Sticky Mat Frame, you’ll enjoy a cleaner, more hygienic space. The sticky mat effectively captures dirt, keeping your area pristine with minimal maintenance.
Why Choose AAWipes Sticky Mats & Frames?
-
Secure & Stable: The Sticky Mat Frame ensures the mat stays in place, providing stable adhesion for optimal performance.
-
Efficient Cleaning: The Sticky Mat effectively traps dirt, dust, and other contaminants from shoes, wheels, and equipment.
-
Long-Lasting: Layers are easily replaced, maintaining maximum cleanliness without hassle.
#StickyMat #CleanSpace #Hygiene #HomeImprovement #DIY #Cleanliness #PristineEnvironment #DustFree #EasyCleaning #HealthyLiving #OrganizedSpace #FloorProtection #HomeHygiene #Maintenance #Efficiency #StepByStep #TidyUp #MatInstallation #SafetyFirst #Declutter


